Sage ERP X3 Tip: Changing Columns in the Left List Selection Window
There are many screens in Sage ERP X3 that are accompanied with a left list selection window. These lists contain a set of default columns to help you identify the record you would like to select. In many case users would like to add, delete or reorder these columns. This is a very simple task but many system administrators are unaware of this capability.
We will show you exactly how this is accomplished. This example will be with the Customer screen in Sage X3. The default customer screen looks like the following:
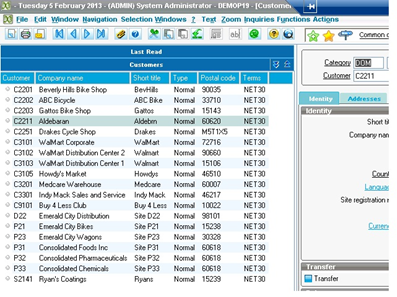
Notice the 6 columns in the left list:
- Customer
- Company Name
- Short Title
- Type
- Postal Code
- Terms
Let us assume that a user has requested the following columns are needed in a specific order:
- Category
- Customer
- Company Name
- Status
You change the left list in the following function:
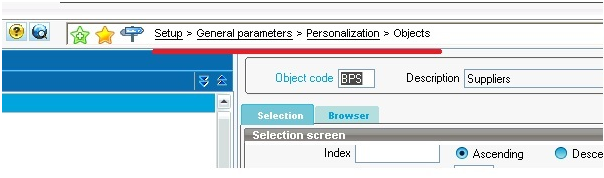
Select the object code for “Customers” which is BPC
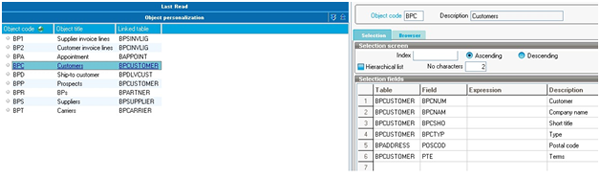
The “Selection” Tab in Sage ERP X3 list all the fields being displayed on the current left list.
To add a field (the table must already be link to the object):
- Select the row where you would like to add the column and right mouse click and select insert line.
- Select the table from where the field is located
- Select the field you want to add
To Delete a field:
- Highlight the row that you would like to delete
- Right mouse click and select delete
To Move a field:
- Use the Delete row first to remove the field you want to move
- Then use the Insert row to insert it at its new location
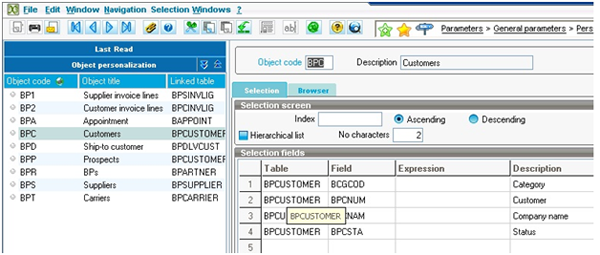
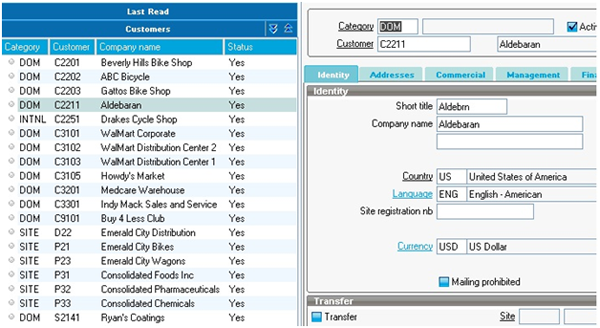
You new Customer Object screen in Sage X3 should look like this:
When you return to the Customer screen the new left list will look like this:
If you would like further assistance with changing screens in Sage ERP X3 that are accompanied with a left list selection window please email us here.