Sage X3 Tips – Insider

Resources for Sage X3 Users
Sage X3 Tips, Tricks, Videos on Features, Modules and 3rd Party Solutions

ERP
Changing Material Quantity Consumed for Subcontract POs in Sage X3
As part of the subcontract setup in Sage X3, there is a parameter in the Receiving Entry transaction in the “SUBCONTRACTING STOCK” block that defines the Material consumption mode. There are 3 options:
Consume all the planned material with the first receipt, regardless the quantity received.
Consume the material proportionately to finished product received without exceeding the planned quantity.
Consume material proportionately based on the finished product.
That said, this setting can be overridden at the time of receipt. The processed outlined below, illustrates how this is done. It allows you the flexibility to control how much of the raw material is consumed on a receipt by receipt basis.
Step-by-step instructions:
1. Create a subcontract order as normal and generate the subcontract PO. In the example below we ordered 50 each of FGTEST. This translates to 50 each of RMTEST and SSTEST, raw material and subcontract service, respectively.
2. Create the delivery and validate to ship 50 each of RMTEST to the supplier.
3. Receive the finished good (FGTEST) from the supplier. The assumption here is that the supplier only produced 40 of the required 50 of FGTEST but consumed all the material.
4. Before clicking “Create”, click on the Action menu at the beginning of the line for the FG item and select “Subcon order issues”.
5. The following window will appear. Change the quantity to 50 to match the “Available quantity” and consume all the RM shipped to the supplier. After you change the quantity, click “OK”.
6. The Stock Issues screen will appear. You must change the quantity here too and click “Save”.
7. Click “Create” and finish the receipt.
8. Stock Transactions show 40 each of FGTEST being received to stock.
9. Stock Transactions will also show all 50 of RMTEST being consumed from the subcontract location.
.single-format-aside .single-post-wrap p:first-child { font-size: 18px !important; color: #555 !important;}
Read more
ERP
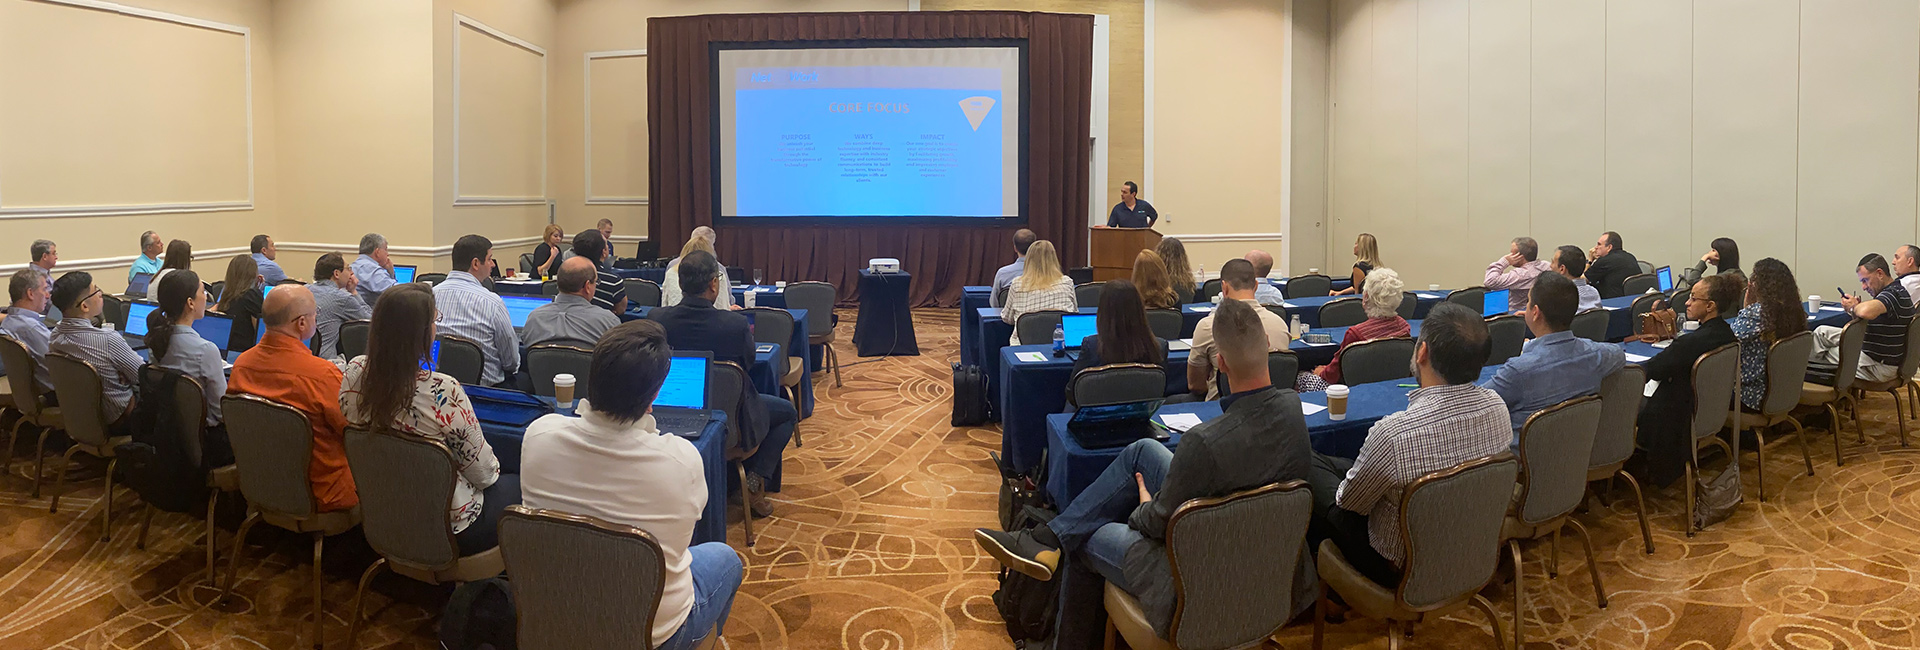
Sage Enterprise X3 Team 2020 Meeting Recap
Our co-founders, Alex and Eddie Solomon joined us and gave motivational origin and vision presentations that helped frame our implementation of EOS and Traction across the organization.
Juliet Iorii and Troy Basel, our new Solution Architects, presented several great topics that we would be happy to share with any of our clients:
Cost Accounting – tips and tricks, validation, reconciliation
New approaches to manufacturing – Net at Work has recently formalized three approaches: Full, Simplified, and Light
Simulated Go Live – best practices to ensure a highly successful go live
Sage also joined us to provide a preview of what’s coming in Sage X3 so we can be well-prepared to support our clients and prospects with questions about the roadmap.
Net at Work thanks our amazing ISV sponsors who help our clients get the most from their Sage X3 investment! It was great to work with you in person since so many of our clients benefit from our partnership.
Gold Sponsors:
Datalinx has been established for over 25 years and is recognized as the market leader in warehouse management and barcode systems for Sage. Our client base ranges from multinationals to smaller companies and we have live systems installed worldwide.
Prophix helps midmarket companies achieve their goals more successfully with its innovative Corporate Performance Management (CPM) software. With Prophix, finance leaders improve profitability and minimize risk by automating budgeting, planning and reporting, and put the focus back on what matters most – uncovering business opportunities and driving competitive advantage. Whether in the cloud or on-premise, Prophix supports your future with a platform that flexes to suit your strategic realities, today and tomorrow.
Sage Enterprise Intelligence is an intuitive business intelligence solution integrated with your Sage business management system to help business users reduce time spent on analysis and reporting and make faster, better-informed decisions. It empowers all users with a simple solution to access and analyze data in a self-sufficient manner, which eliminates the need for disparate tools and specialized skills, and can reduce time to decision.
Silver Sponsors:
Read more

ERP
Net at Work’s Sage Enterprise X3 Team Continues to Grow
Net at Work’s Sage X3 ERP team is expanding. To meet the unique business requirements and better support our ever-growing number of clients, we have added 4 new members to our Sage X3 team this quarter. They bring decades of expertise to the team in the areas of Project Management, Finance, Technology, and Chemical. Please take a moment to learn more about the skills each brings to our practice.
Meet Our Sage X3 Experts
As Team Manager, Gigi Beaudean-Hornyai leads a team of chemical-focused X3 consultants and clients. She brings a wealth of knowledge about both X3 and the chemical industries where we specialize. Gigi is based out of Atlanta, GA.
Gisela (Gigi) Beaudean-Hornyai
Sage X3 Team Manager – Chemical
gbhornyai@netatwork.com | Direct: 646-293-1789 | Mobile: 678-787-8452
Gigi has been leading high performing teams and driving change throughout organizations for over 13 years. She believes in forming strong partnerships with her clients and team members to drive efficient solutions and share knowledge and best practices. Prior to joining Net at Work, she managed the Finance and IT departments in a Global Chemical Manufacturing where she achieved a deep knowledge and understanding of the chemical industry and process manufacturing environment focusing on continuous process improvement. As a Sage X3 consultant and team manager, she has successfully implemented many ERP implementations as well as third party applications for many industries including pharmaceutical, nutraceutical, food and beverage, chemical distributors, specialty chemical, agriculture, and service good distributors. Gigi has BA in Accounting and a MBA in Global Management.
Daryl Connell brings to the team deep technical experience around Sage X3 in cloud, Active Directory, MS SQL, VPN, TCP/IP, DNS, DHCP, WINS, IP security, routing, and remote access.
Daryl Connell
Technical Consultant, Sage X3
dconnell@netatwork.com | Direct: 646.517.6164 | Mobile: 651.247.4536
Daryl has more than 20 years of hands-on experience in information systems, information technologies, and operations. Prior to joining Net at Work his experience includes working with Software, Hospitality, Medical Device and Manufacturing companies as an IT leader. He has implemented and worked with broad set of ERP and CRM solutions thru out his career. Daryl has a B.S. in Computer & Information Science.
A true world-traveler with global Sage X3 experience, Lynn Eilerd Du-Toit joins us out of Los Angeles, CA.
Lynn Eilerd Du-Toit
Finance Consultant
ltoit@netatwork.com | Direct: 1.800.719.3307 x7121
Lynn is a senior Sage X3 Consultant specialized in Finance and Distribution. Lynn has a masters in finance, accounting and taxation. Lynn has been working as an ERP consultant for over 15 years. She has extensive experience in complex financial configuration and multi-legislation deployment of Sage X3 worldwide. Lynn was contracted to help develop several legislations for Sage X3 such as UAE and African countries. Lynn has completed several full cycle deployments of Sage X3 as well as quality controlled Sage X3 financial configuration of other Sage teams.
Dave McCormick has implemented X3 in the US and Mexico with an impressive drive to succeed. He works out of our Miami, FL office.
Dave McCormick
Project Manager
dmccormick@netatwork.com | Direct: 786.476.7133
Dave brings over 20 years of ERP System implementations and project management experience to Net at Work, and has worked with Sage X3 since 2018. Dave has been a Consultant, Programmer, Report Writer, Business Analyst, SQL Developer, and Project Manager. He has even opened a Garden Center from groundbreaking to successful completion. Dave has extensive experience in many industries, including pharmaceutical, large-scale landscaping, point of sale, automotive, and manufacturing (both U.S. and abroad).
Read more

ERP
How to Setup and Control Sales Rep Access in Sage X3
In the competitive world of sales, it is critical for sales reps to have sales statistics at their fingertips. At the same time, it is critical for companies to limit the access of a sales rep to their assigned accounts. For this reason, Sage X3 offers a simple way to restrict a user’s access, while allowing for transactions related to the rep to be accessible. This article explains in detail the process for setting up a sales rep and aligning the rep to an X3 user ID.
Create a Sales Rep ID:
Follow: Common data > BPs > Sale rep
1. Select new
2. Enter a Sales Rep ID and other relevant information related to the sales rep
3. Click create
Assign Row Level Permissions:
The Row Level permissions are the source for filtering out specific information based on the rule selected and value assigned to the rule. With these settings a user will only see customers that are assigned to the specified sales rep as well as quotes, orders, deliveries, and invoices that are created for these customers.
Follow: Setup > Users > User
1. Select the user ID that will be assigned to the sales rep
2. Select the organization tab
3. Under Row Level Permissions enter permission code REP – Representative
4. For the Key enter the Sales Rep code that is assigned to the specific user
Linking a Sales Rep to a User:
1. From the left-hand navigation on the user entry screen, select Parameters Per Group
2. Select CRM Customer Relations
3. Select COL Employee Profile then click on the first parameter to access the parameter chapter detail
Assign Parameters:
The parameter chapter detail is where the sales rep parameters will be defined. By defining these parameters, the user and the sales rep that has been created as a BP will be linked in Sage X3. For this to work properly the following parameters must be defined:
1. Function = Sales Engineer
2. Mission Start Date = Date of hire
3. Sales Rep Number = Sales Rep ID created in the sales rep function of the common data module
4. Weekly Structure = SC1 is 5 days 8 hours a day
Row level permissions will work as designed without being linked to a sales rep ID code. However, by linking the user ID to the sales rep the user’s activities will now be tied to the sales rep and the user will be able to take advantage of the Sage X3 enhancements that were designed and developed specifically for the sales team.
Read more

ERP
Work Smarter, Not Harder: Getting the Most Out of Standard Inquiries in Sage X3
One of the great features of Sage X3 is that it comes with various methods to fetch the very specific reporting information you need.
There are three types of tools you can use to create reports:
1. Requester Tool
This includes the Standard Requester, Graphical Requester and SQL Requester. All of the Requesters function by using the temporary extraction of data in a table and running a query on the table.
2. Crystal Reports
Can be used to create simple reports such as displaying lists of records from tables to complex or specialized reports that are customer or vendor facing.
3. Inquiries
Each module of Sage X3 has its own set of inquiries that allow you search and filter predefined data collections using a variety of prebuilt parameters.
In this blog post, we will show you how to use inquiries and how to get the most out of them.
One of the advantages of using inquiries over Crystal reports is that they allow you to jump to the particular transactions by way of right clicking on the Options menu of the line that interests you.
You can navigate to sub-menus for inquiries for each module of the application. Purchasing will have its own dedicated submodule, and so will Sales and so on and so forth.
Here is an example of the inquiries found in the menu for Sage X3 v12:
Please note that new inquiries are added when new functionality is released. For example, new Inquiries were released with the Shipments submodule in purchasing that came out with v7.
Most inquiries are arranged in pairs:
In the example above, found in Purchasing > Inquiries > Orders, the ‘List of orders’ will point to the document header information while the ‘Order lines’ inquiry will display line item data. Both will allow you to drill down to the detail by clicking the Options menu (dots) for each line presented.
Unless it is a graphical inquiry, like ‘Orders by period’ shown below, which prompts you for the parameters or filters prior to displaying the graphical representation, each inquiry will show in the same manner.
You will first be asked to enter the selection parameters in the header and then the lines will be displayed after clicking the Search button in the top right corner.
Please note that the default dates shown in the Start date and End date fields are managed in the code of the particular inquiry.
Below is an example of the results returned after changing the date range:
Adding the company as the filter and clicking the Search button again returns a fresh set of results:
One of the features that often is overlooked is the ability to use other available search criteria. Since these criteria are not as common as the ones in the header, they are placed in another section called ‘Criteria’ in the top right corner of your screen in v12:
Being able to filter by statistical group is one of these criteria. It is extremely useful to reduce the number of values displayed in the lines. You can easily imagine a situation where you would only want to see a subcategory of your item master and only show those purchase order lines. By simply selecting it in the list, you can now concentrate on those SKUs and see who you purchased them from for a given time period.
As an example, we can select our IT product from our product list:
After clicking OK, we are now displaying only those items from the database.
Note that these criteria can be saved and memorized using the ‘Memo’ option in the top right corner of the criteria window.
One of the other capabilities that is not used often is the ability to add/remove columns based on configurations.
Before modifying the order or adding/removing columns, you will need to know which inquiry code to change. To determine the inquiry code, hover over the inquiry link on your menu. The function code will appear. The last three letters of the function code will be the inquiry code. In our example, the function code for ‘Order lines’ is CONSCPP. Therefore, the inquiry code is CPP.
The inquiries can be modified here:
You can create as many versions of the inquiry screen as desired. All inquiries come with two standard screen versions—an ALL with most/all fields turned on, and a STD with a few already pre-selected.
Please note that the ALL screen code typically required ADMIN access and might not be available to all users.
You can decide how many lines to display when you click the Search button. After that number of lines is reached, you will need to click the Next button to display the next number of lines defined.
You can also define how many columns will be frozen when you scroll to the right. In the screenshot above, only the ‘Order’ number will remain static.
You can decide to remove a column by clearing out the numbers in the Order column. If a column hasn’t been selected yet (there is no number in the Order column, it appears after all numbered columns), all you need to do for it to be available next time you open the inquiry is to add a number in the Order column at the right place.
Finally, if you are a superuser of the system and you need to understand which screen code is used by default on an inquiry, you will need to see it in the development section:
You can create your own version of the screen and default it for all users. If no screen is selected, the system will display ALL fields defined at the screen level.
In our case the STD version is defaulted:
Please note that you can change the screen code provided that you have the ADMIN access code. You can do this at the Criteria level on the Inquiry.
The default code is STD when you open the CPP inquiry for ‘Order lines’. You can change the default screen code to ALL to display all fields.
Please note that you can also choose the Sort order.
If you need additional columns, feel free to reach out to Net at Work and we will be happy to help you make adjustments to Inquiries.
Read more

ERP
Sage X3 Tips: How to Embed a Sage Enterprise Intelligence (SEI) Report/Dashboard Inside Sage X3 v12
In this post we we’ll illustrate how to view a newly created Sage Enterprise Intelligence (SEI) dashboard on a direct landing page inside your Sage X3. Here are the steps to follow:
Steps
1.) Open up the Report/Dashboard that you want to embed in SEI
2.) In the right bar panel, Select ‘Sharing’ -> ‘View External Link’
3.) Copy the entire external link:
4.) Go into Sage X3 to create Menu item for this link: Administration -> Authoring -> Pages -> Menu Items
5.) Create New Menu Item:
6.) Enter in the following fields, the one’s with the * are required:
Code: Custom field
Title: Custom field
Link Type: External link
URL: Paste in the external link from step 3
7.) Hit Save in the top right corner
8.) Add the gadget to the landing page using the ‘+’ icon
9.) Select Web -> No Module -> No Category -> SEI Example (Use the one that you defined) -> Ok
*You can define categories in the menu item, for better management
10.) Done
SEI Embedded in Sage X3
Our Sage X3 team has been doing more and more work recently on embedding Sage Enterprise Intelligence widgets inside Sage X3. Some samples that we built for our demo images are shown below. Let us know if this of interest to you and we’ll connect you with our expert.
In this example embedded in the customer screen, each widget automatically filters to the customer record for context-sensitive data.
Read more
Have Questions?
Use the form or call us today to speak with one of our Sage X3 experts.
Call: 1-800-719-3307
Contact a Sage X3 Expert