Sage X3 Tips – Insider

Resources for Sage X3 Users
Sage X3 Tips, Tricks, Videos on Features, Modules and 3rd Party Solutions

ERP
Creating Multiple Prepayments for Purchase Orders in Sage X3
How to avoid the error message “Order Partially or totally invoiced”
In a previous edition of the X3 Insider, we reviewed how to set up prepayments on purchase orders in Sage X3. In this post, we will explore creating multiple prepayments for purchase orders and how you can avoid the error message: Order partially or totally invoiced.
Bookmark Sage Support Resources today!
Steps to reproduce the problem:
We entered a new PO ($200k)
We added a prepay amount to be paid – we entered the full amount ($200k) of the new PO (Utilities, Prepayments)
We partially paid that PO ($30k)
We entered an invoice for that partial payment ($30k)
We went to the PO, Utilities -> Prepayment. We got the error that we have been getting (screenshot below*)
Instead, we need to create the prepayment schedule beforehand. See these steps:
Create the Purchase order for the full amount ($200k in this example):
Set the correct prepayment schedule:
Now let’s go to issue the 1st prepayment:
We create the Invoice for the $30,000 that we just paid as a prepayment:
This invoice is automatically matched to the prepayment:
Now, we go to create another prepayment for the same Purchase Order. Remember that we defined ALL TREE prepayments before receiving any invoices:
Select the second prepayment of the list (once again, created at the 1st moment, when the PO was created and no prepayments processed)
Now enter the second invoice for the second prepayment:
Note that in the manual matching all looks correct, the prepayments associated with the invoice:
You can now proceed with the 3rd prepayment, as defined at the beginning.
For more information on creating multiple prepayments in Sage X3, please contact us.
Read more

ERP
New Features for Bad Debt Management in Sage X3
Bad debt is a contingency that must be accounted for by all businesses who extend credit to customers, as there is always a risk that payment will not be received. The latest release of Sage X3 has new features to help you limit this bad debt risk by:
identifying and managing bad debts
creating journal entries which will allow your business to have better visibility on bad debt
more easily calculating accruals on debts that may not be recovered
writing-off bad debts while meeting local legal requirements
This post will introduce the new parameters and activity codes related to this new function. The Sage X3 Online Help Center contains more detail about the options available and how to use the features.
Bookmark Sage Support Resources today!
Define the new parameters by navigating to the Parameter values screen. Select the CPT chapter and CLO group.
Define the bad debt process using the following parameters:
Bad debt date filter rules (BDTDR) – specify the date used in calculating bad debts
Bad debt management rules (BDTMGT) – define the management rules at the company level
Select the automatic journals for the following parameters:
Bad debts – doubtful receivables (GAUBDTDOU)
Bad debts – direct write-off (GAUBDTDWO)
Bad debts – impairment (GAUBDTIPR)
There are two new activity codes:
Bad debt management (BADBT) – controls all the developments related to bad debt
Number of Bad debt lines (BDE) – limits the number of lines that can be uploaded in a bad debt function. The default value setup is 300.
Bad debt management example:
Create the terms that will be applied in calculating bad debt values using the Bad debt terms screen (GESBDT).
Enter a bad debt terms code, legislation for which the terms can be used for, description, and short description. Specify the number of days between the accounting due date of an open item and the actual date. The percentages entered will apply to the corresponding number of days in the bad debt management process. Note that for the days and percentages, the following rules apply:
No negative values
Values can be equal to zero
The value of the next line should be higher than the previous one
“No. of days late” must be presented in ascending value
The value in “Percentage” should never be higher than 100
No two lines on the grid can have the same value
No bad debt term code can be saved if the grid is empty—it should have at least one entry
Next, define which company and which bad debt management rule is used, select which open items are used to create new bad debts in the Bad Debts Management screen (BADBTGEN). Bad debt management does not apply to late supplier invoices, only to customer invoices and open items.
Start by entering the company and the bad debt management rule. The options are doubtful receivables, impairment, or write-offs. Next, select the bad debts terms, which contains the percentage to be applied in the calculation of overdue invoices/open items to be included in the bad debt management processes. Further define the open items in the Criteria field. Select OK when ready to go to the next step.
Select which entries will be posted as bad debt. See how much will be posted as bad debt in the bad debt amount column. Select OK to create the journal entry and to complete the process.
For more information on using the new features in Sage X3 to help limit bad debt risk, please contact us.
Read more

ERP
5 Ways Graphic Design is a Powerful Tool for Your Business
Download the free guide
Graphic design is much more than attractive imagery. Graphic design is a powerful marketing tool.
When people think of design, they usually imagine pretty pictures or attention-grabbing colors. What many people don’t realize is that design is a vital and often underused tool that helps to bridge a communication gap between your customers and your business.
Graphic design not only plays a vital role in your brand identity, but it helps you to add credibility to your business.
It can enhance your brand message, express professionalism, evoke emotions, and even boost sales.
First impressions matter with design.
Bookmark Sage Support Resources today!
When people visit your website, you only have about 5-7 seconds to grab their attention.
People are visual creatures by nature, and our brains are designed to store visual memories for longer. We also react more emotionally to images more than we do with text. Design offers a huge potential to engage with your customers in a lasting way.
Graphic design plays a huge part in your brand identity. With the right logo, colors, and visuals in place, you can create a strong brand that’s unforgettable to your audience. A good graphic designer will create visual branding that not only communicates who you are but will resonate with your target audience.
Implementing well-designed and targeted graphics across your sales & marketing materials will increase your chances of capturing attention while creating a memorable brand experience. In the context of a website, when you engage your visitors they’ll spend more time on it, which will lead to more inquiries or purchases, AKA higher conversion rates.
Great graphic design can set you apart from your competitors and create continuity so that your customers will keep coming back to you.
Graphic design doesn’t just look good, it solves problems.
In this e-book from our partners at Costello Creative Group, they look at five ways graphic design can be a powerful tool for your business by providing solutions. They focus mainly on websites and branding, but these steps can be applied to most forms of sales & marketing communications both digital and in print.
Download the free guide
Read more

ERP
Adding Fees or Surcharges in Sage X3 Based on Customer/Product Price List
In this blog post, we’ll review how to setup a fuel surcharge at a detail level by product and customer in Sales Price List and print the amount as an additional Invoicing Element on the Invoice Footer. This process applies to any discount or surcharge fee (for example, quantity break discounts, swell discounts, or freight charges based on weight).
1. Setup an Invoicing Element in Sage X3
Choose Value type = Amount
The Entry Invoicing Elements position can be left at zero. We will not need to enter any Invoicing Element. It’s all configured in the price list Customer/Product.
Bookmark Sage Support Resources today!
2. Sales Price Structure
Add a new line in the Sales Price Structure. Leave ‘Net price-tax’ set to No. Add the Invoicing Element number so it prints on the Invoice Footer.
3. Setup the Sales Price list
Change the Fuel Surcharge to YES , so the field will show in the Sales Order detail line.
4. Enter or Import the Price and Fuel Surcharge Rate by Customer and Product
5. Enter a New Sales Order
Since customer and product match to the price list entry , the fuel surcharge defaults automatically.
We show the individual rates for fuel surcharge on the detail line. The fuel surcharge total amount prints on the report footer as requested.
6. Enter Sales Invoice (after delivery created and validated)
The fuel surcharge prints on the Invoice Footer as designed.
Need more information? Contact us. Our Sage X3 experts are happy to help answer your questions.
Read more
ERP
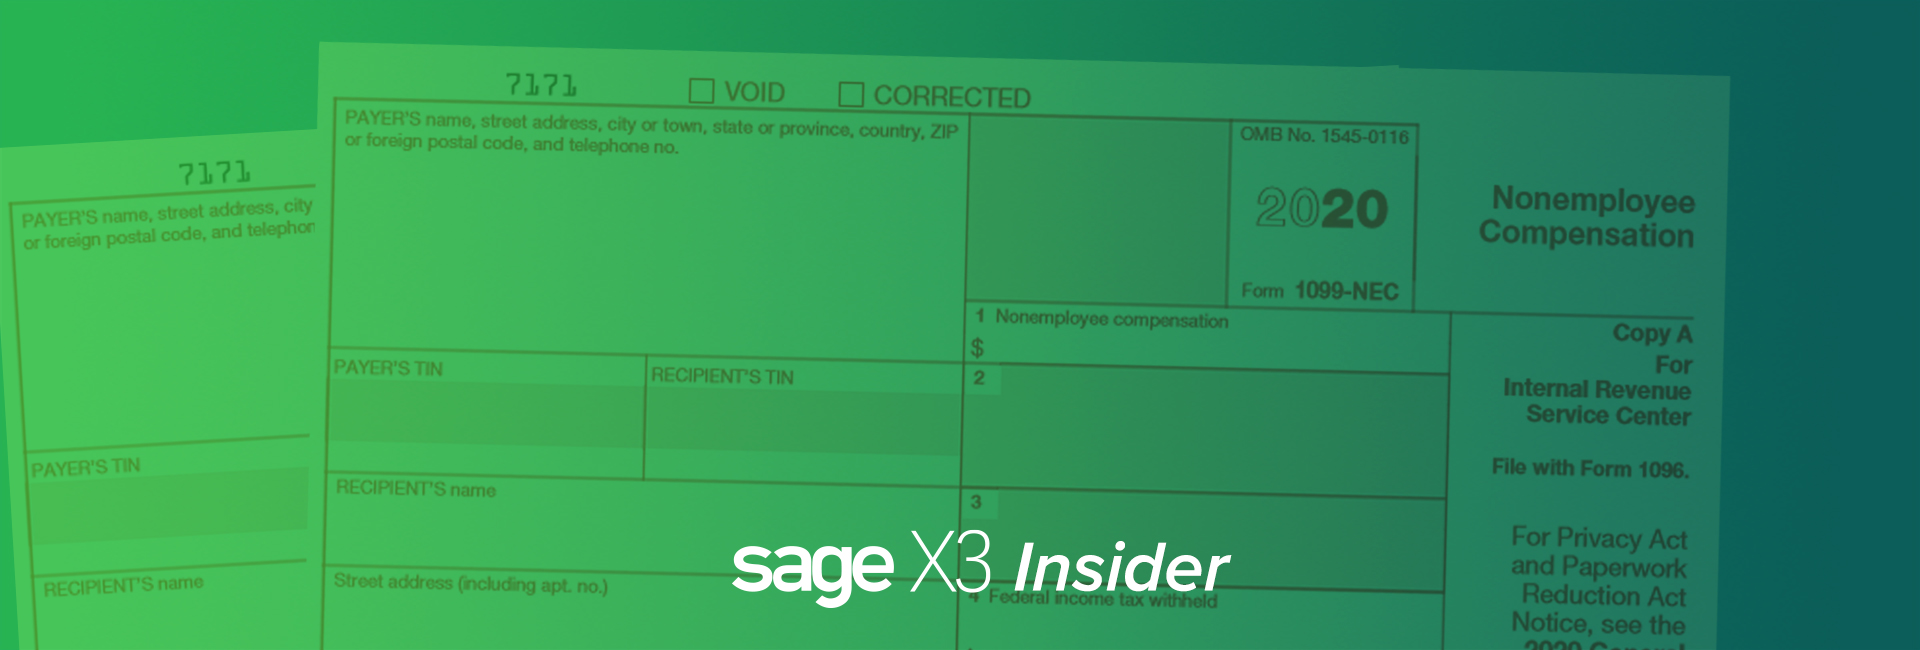
Before You Forget About 1099s Until Next Year
While filing 1099s is still fresh in your mind, have you changed the default on you BP supplier’s 1099 form from MISC/Box 7 to form NEC/Box 1? Yes, that 1099-NEC will be around for the 2021 fillings. It won’t be painful. You know that it will make the people who key in the vendor invoices so happy to have the 1099 defaults correct.
In this blog post, originally posted on Sage City Community by Pam Nightingale, January 29, 2021, we’ll review how to change the default on your BP supplier’s 1099 from MISC/Box 7 to form NEC/Box 1.
For those that have been trying to block this out of their minds, the 1099-NEC form is the 1099 for reporting nonemployee compensation. Tracking the 1099-NEC began on January 1, 2020. This information used to be tracked on 1099-MISC box 7.
Bookmark Sage Support Resources today!
Where is the BP Supplier default set?
The default 1099 form and 1099 box are set on the Financial tab under Common data, BPs, Supplier.
If you try to select 1099 form MISC and 1099 box 7, notice that box 7 is no longer in the dropdown menu.
If you try to manually enter 1099 form MISC with 1099 box 7, you will receive a “Field error ‘1099 box’. Invalid 1099 box” message and will be prevented from saving.
How do you know if you missed changing any defaults? Let’s look at a few simple ways to do this.
One easy way is to go to the Right box under Selection and click Advanced selection.
If you just want to determine which ones are still 1099-MISC/Box 7, you can just pick the BOX1099 and FRM1099 fields from the BPSUPPLIER Table.
Before you leave, click Memo. Create a memo for this Advanced selection so you don’t have to keep recreating it. Just click Recall to use again. The Memo function is available when running reports and even Payment proposals. It is a great little key stroke saver.
Once you have finished creating the Memo, click OK to return to the Object selection screen. Click OK to filter the Left list with suppliers that have 1099 Form MISC/1099 Box 7.
You could add the 1099 Form and 1099 Box to the Left list. Under Development Script dictionary, Basic objects, select BPS Object code (1) and proceed to the Selection tab (2). In the Selection grid add the Field FRM1099 (3) and the Field BOX1099 (4) from the BPSSUPPLIER Table. Click Save icon (5) and then click form1099 Validation (6).
If you are not familiar with modifying screens, objects and windows, contact us for assistance.
When you return to BP Supplier, the Left list now has columns for the 1099 form and 1099 box. The information is available at a glance. Keep in mind, that this adds overhead to the processing and could add time to the left list populating.
Another simple option is a Query tool based on the BPSUPPLIER table. Add the BPSNUM, BSPNAM, FRM1099 fields and BOX1099 fields. Note that we set Range=Yes for the Supplier number. This will allow us to select a range of suppler numbers in our query. You might want to have a range for forms or boxes.
Before we go any further, we want to make a change on the Advanced tab. We are going to enter a Maximum lines number. If we make a mistake on any of our query formulas, we won’t bring the system to its knees by setting this maximum number. Also, closing your browser doesn’t stop the query from running. The data collection/calculations are running on the server. See your IT person if you need to stop the query generation.
Now it time to Create (1), Validate (2) and Run (3).
You can click Criteria to select a range of supplier numbers or let is run for all.
We have selected a range of BPs. Notice there is a Memo button. We can save our Criteria for future use.
After clicking OK, we have our query results with BPs and their 1099 form and 1099 box defaults. The Last generation fields are important. The query retains the data after you exit. To refresh, click Search. Always check the Last generation to ensure you have the most up-to-date data.
Now that was all pretty painless. You’ve cleaned up all your 1099 form and 1099 box defaults and can monitor them going forward. And, all the people entering AP invoices will be so happy that you’ve saved them a few key strokes.
Need more information? Contact us. Our Sage X3 experts are happy to help answer your questions.
Read more

ERP
Understanding Customer Credit Limits and Currency in Sage X3
A critical part of managing risk within an organization is managing the credit available to customers. If you give a customer who may not be in the best financial position credit terms, or too much credit, you may have a hard time collecting what they owe. In addition, you do not want to provide a customer with more or less credit than they have been approved for, as this could trigger similar problems. You can monitor this process and prevent these situations with Sage X3 ERP credit limit and credit review capabilities.
To ensure that Customer Credit Control Management is configured correctly and that the authorized limits do yield the correct results, the following setups are important to understand how Sage X3 checks the specified authorized credit limits and prevents possible anomalies or negative balances showing up in Customer Situation inquiries, etc.
Folder Currency = RPTCUR:
The X3 folder currency is configured at folder setup and is usually that of the “holding” or main system currency for all currency transactions that will occur in the folder and is also the currency against which currency conversions will occur in conjunction with other currency parameters.
Bookmark Sage Support Resources today!
Account Core Model Ledger Currency:
The Account Core Model can contain several ledgers with variances in currency, specific to each ledger defined/specified. The Local/Legal ledger is the currency of the country in which the entity operates, which is in turn connected to (a) Chart(s) of Accounts and then further to a Company containing a Company Currency.
For each ledger defined/specified in the Account Core Model, the amounts are made available in transaction currency and its countervalue, in the specified ledger keeping currency.
When the Account Core Model is associated with a company, the accounting currency is derived from the currency in which the Main General (Legal) ledger of the core model is kept:
Company Currency:
The currency of the Legal Entity/Company is derived from the Account Core Model to which it has been linked.
Accounting transactions/movements are recorded in this currency, and for transactions with a different currency, it uses the transaction currency and the reporting currency.
Currency Rate Table – Utilized for API Feeds from Forex Websites into Sage X3:
For the conversion between currency rates the Currency rate table is used to make the “real time” rate conversions for transactions in any currency other than the local “main” currency.
This rate table must be maintained to ensure correct currency conversions. It is also the table used for the Customer Credit Management functionality to determine whether the credit limit has been reached or not. Bear in mind that the Customer Credit Limit must be set in accordance with the Folder and Account Core Model currency.
Parameter Value: TC>CUR:
Parameter – CURSHRFLD:
This is the currency in which the amounts of the base accounting records (folder currency) are expressed.
If the authorized credit control is carried out using the updated rate (in the currency rate table) and it is performed by Folder, then said control will be performed in the currency defined in the CURSHRFLD field.
The CURSHRFLD parameter currency must match that of the Folder currency to ensure that credit limit authorizations are not incorrectly calculated, which may result in credit limits being displayed with negative balances or exceeding the actual credit limit if expressed in a different currency than that of the Folder.
Even though a Customer may have a different currency than that of the Folder, the system will evaluate the authorized credit limit expressed in USD to determine if the limit is reached or not.
For example:
A BP Customer having a EUR currency is set up as such but their Authorized Credit Limit amount is not set in EUR but in USD (since my folder currency is USD). So, when I transact with this customer, the transaction date, the currency rate as specified in the currency rate table for the relevant date and the converted amount (between EUR and USD) is considered during the calculation performed by the system to determine whether the Authorized Credit Limit is reached or not and then to allow further transactions or not.
Parameter – OSTTYPCUR:
The OSTTYPCUR parameter, ‘Revised customer credit rate type’, is used to consider the Folder rate type to be used, i.e., daily, monthly, monthly average, etc. The authorized credit control amounts stored in transaction currency will then be converted to the folder currency based on the rate type selected with respect to the date of the day as explained above.
Parameter – OSTCTL:
This parameter specifies whether the authorized credit control for customers must be made by each company in turn or for all companies together (folder level). The list of possible values is: Folder, Company.
• Folder: the credit control is carried out by comparing the folder credit (all companies) and the authorized credit for the customer.
• Company: the credit control is carried out by comparing the company credit and the authorized credit for the customer.
The above highlighted parameter value is set at that of the Folder. The meaning of this setting are as follows:
When the control on credit is done at the ‘Folder’ level, the control is always applied based on the updated rate, regardless of the value of the OSTCHGTYP parameter – Rate origin WIP ctrl. parameter.
When at Folder level the CURSHRFLD parameter is used and the credit amounts stored in transaction currency are then converted into the folder currency based on the rate type selected for the current date (currency rate table and date).
When the control on credit is done at ‘Company’ level, the control/check is applied to the defined Company Currency. The specified OSTTYPCUR parameter rate type is used by the Company level control. The credit amounts stored in transaction currency are then converted into the Company currency based on the rate type (daily, monthly, etc.) selected for the current date.
The WIP is controlled with respect to the risk BP of the customer. If the risk BP is shared by several customers, it means that the WIP of each customer will be controlled the same way with respect to the risk BP by cumulating the total of the different customers movements. When the customer is associated to a different risk BP, the amount of the authorized WIP cannot be accessed. It can be viewed on the risk BP record. The displayed WIP is that of the risk BP.
BP Customer Authorized Credit Management
Maximum credit amount authorized for this customer. It is used if the customer is declared as ‘Controlled’ in the WIP control field.
This amount is expressed in the currency of:
• The Folder when the control is at Folder level; (OSTCTL as shown above)
• The currency of the default Common Data site of the user when the credit control applies at the Company level. The amounts are displayed in Folder currency if the user does not have a default site.
For more information on Understanding Customer Credit Limits and Currency in Sage X3, please contact us.
Read more

ERP
Help When You Need It: Sage X3 Support on YouTube
Need help with your Sage X3 ERP software? Now you can find answers to your Sage X3 questions on the Sage X3 Support YouTube channel.
The Sage X3 Support YouTube channel offers short how-to videos that help you with common Sage X3 functions. Need to know how to find out which version of Sage X3 you are using? No problem, there’s a video to show you how to do that. Need to know how to update an expired license? You’ll find a video for that as well. Currently, there are 13 how-to videos with more to come. It’s a great place to start when you need information.
Bookmark Sage Support Resources today!
Below is a video detailing how to set up and process inter-site transactions—just one of the topics covered on the playlist. Check out all the how-to videos here.
.embed-container { position: relative; padding-bottom: 56.25%; height: 0; overflow: hidden; max-width: 100%; } .embed-container iframe, .embed-container object, .embed-container embed { position: absolute; top: 0; left: 0; width: 100%; height: 100%; }
Need more information than the videos provide? Or need help with additional topics? Contact us. Our Sage X3 experts are happy to help answer your questions.
Read more

ERP
Sales Pricing: Managing Fees & Charges with Invoicing Elements
Sage X3 permits the calculation of sales price information based on several factors including product, customer, quantity purchased and discounts.
In addition to charging the customer for products & services, it is common to levy additional fees affecting the determination of a total invoiced amount. These fees may cover the cost of freight, handling, insurance, or transportation-related surcharges such as fuel. A user may account for these charges with a Sales Invoice Element, and have the system automatically calculate the impact of the fee on the line level or on the value of the total order.
Bookmark Sage Support Resources today!
Below, we will establish a Sales Invoicing Element to cover a 2% fuel surcharge for a Sales Order and observe its flow through to the Sales Order Invoice function & form.
You may define the behavior of the invoicing element in Setup > Sales > Invoicing elements (GESSFI1).
To target where your invoicing element will appear in subsequent entry transactions, select the ‘Element Position’ button:
Let us look at the where this value belongs within the Sales order screen. Locate the Invoicing tab, Invoicing elements grid. On SONNA0210104 record, below, shipping from NA021 site for (2) finished good items, our new fuel surcharge (in position 4) now holds % value for the fee.
Completing the order fulfillment process, through Delivery & Validation, then generation of a Sales Invoice, we can see the Invoicing element output – Sage X3 calculates the value for the 2% fuel surcharge on the total order value of $171.40 and adds it to our form for presentation to the customer.
For more information on using Invoicing elements to manage fees and charges on a Sales Invoice, or for any other questions about Sage X3, please contact us.
Read more

ERP
Tax Included Pricing in Sage X3
In some legislations/geographies and for some products, our clients need to include sales tax in their prices within Sage X3.
The “Price/Amount Type” flag determines if the prices of products (Sales Invoices) and amounts (Customer BP Invoices) are expressed excluding tax or including tax. This flag influences the price list search. Only those price lists defined in a mode or those accepting a price conversion will be taken into account.
The document price/amount type excludes or includes tax depending on the type defined at the customer level.
This flag allows you to include an item on the Sales Order and calculate tax, but the tax will not increase the sales price. Instead, it will retro-calculate the tax amount.
Let’s see an example. In our case, the Sales Tax Code is called TAX, and it’s 10% of the item’s amount. We set up a customer with “include tax” on the Price/Amount type:
The price entered or calculated (works for both) is $38.70 and includes an extra 10% as tax. The “amount before tax” is $35.18 ($38.70 / 1.1).
For more information about tax included pricing in Sage X3, please contact us.
Read more
Have Questions?
Use the form or call us today to speak with one of our Sage X3 experts.
Call: 1-800-719-3307
Contact a Sage X3 Expert