 How to Implement High Contrast Filters in Sage X3
In this blog post, we’ll show you how to implement several high-contrast filters, making Sage X3 (and any other web applications) more readable for certain users.
STEPS TO IMPLEMENT HIGH CONTRAST FILTERS
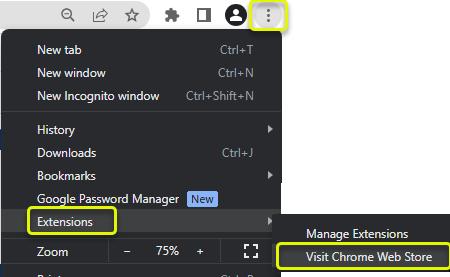
- Open your Chrome browser. Click the vertical three dots in the upper right-hand corner and select Extensions > Visit Chrome Web Store. (Tip: you do not need to be signed in to a Google account)
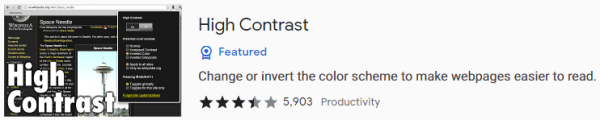
- Search for “Contrast”

- Select the “High Contrast” extension
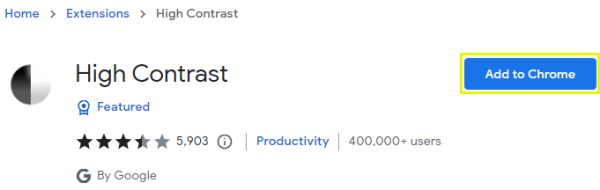
- Select “Add to Chrome”
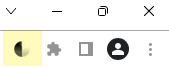
- The “High Contrast” extension is now available in your toolbar. Click on the extension’s icon. (Tip: You may need to click on extensions (puzzle piece) in the upper right-hand corner and “pin” the extension so that it is visible in the toolbar)
- Choose your desired color scheme
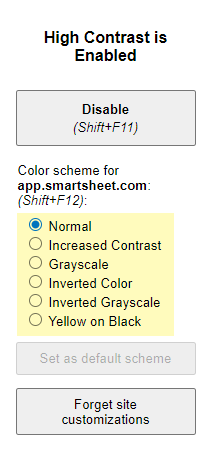
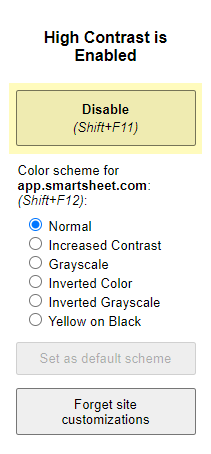
- Click on “Disable” or select Shift+F11 to disable the high contrast settings
EXAMPLES OF THE VARIOUS SETTINGS
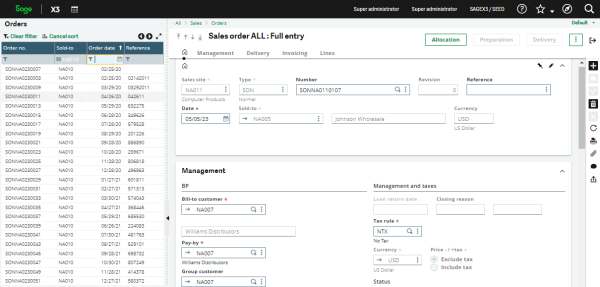
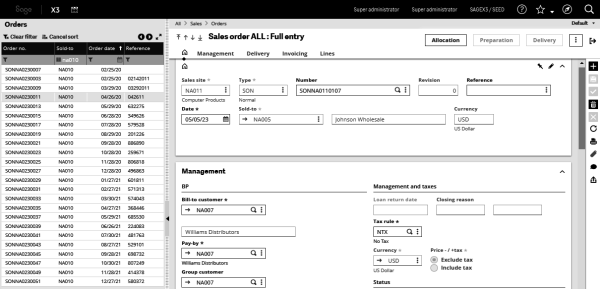
EXAMPLE 1: SAGE X3 PAGE BEFORE USING HIGH CONTRAST SETTINGS
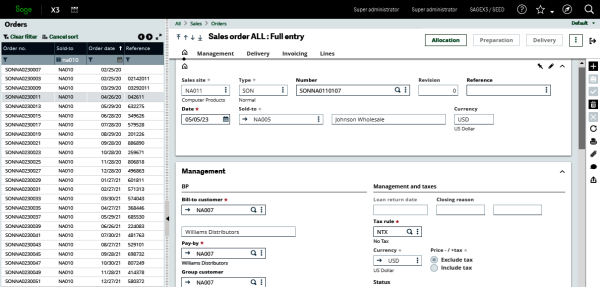
EXAMPLE 2: SAGE X3 PAGE AFTER USING THE “INCREASED CONTRAST” SETTING
EXAMPLE 3: SAGE X3 PAGE AFTER USING THE “GRAYSCALE” SETTING
For more information about implementing high contrast filters in Sage X3, or for any other Sage X3 questions, please contact us.