 Revenue Recognition in Sage X3 V12 for ASC 606 and Beyond
There are various accounting standards that provide guidelines on how to handle everyday accounting interactions. One in particular – accounting standard codification 606 (ASC 606) – specifies how companies should recognize revenue from contracts with customers and provides a standard framework for how to report the nature, timing, and uncertainty of the revenue. Of course, revenue can extend beyond contracts with customers. With the PJM module activated and the latest v12 patch, Sage X3 makes compliance with this standard and other revenue recognition seamless. After configuration, users can successfully record revenue in minutes.

CONFIGURATION
1. Navigate to Setup > General parameters > Sequence number definition > Structures to create the following sequence numbers:
- RRV for revenue recognition creation
- REVRC for validation and posting
2. Navigate to Common data > G/L accounting tables > General > Journal codes to create the journal code RRC, which will be used for posting
3. Navigate to Setup > Financials > Document types and define the document type REVRC
4. Navigate to Setup > Financials > Accounting interface > Automatic journals and create the automatic journal REVRC, which will allow for revenue recognition posting
5. Navigate to Setup > General parameters > Parameter values and create the parameter REVJOU under the REV group to define the automatic journal to use
6. Navigate to Setup > Financials > Accounting forms > Revenue recognition rules to define revenue recognition codes by company
- Fill in required fields Revenue recognition code, Description, and Company. The company selected must be a legal company with the PJTMGT set to Yes
- Define the data that will be used to calculate the recognized revenue in the Definition grid

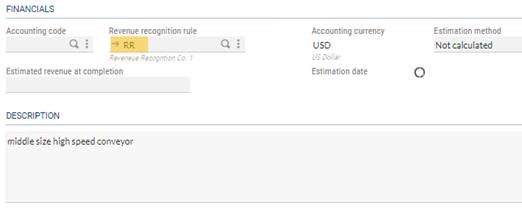
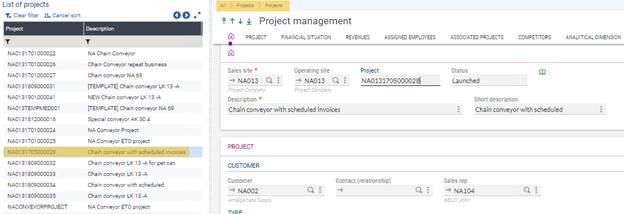
7. To assign revenue recognition rules to a project, navigate to Projects > Projects > Project management. Select the project you would like to assign it to. In the Project tab in the Financials section, select the rule at the Revenue recognition rule field
REVENUE RECOGNITION PROCESS
Begin by gathering the most up-to-date project information.
1. Navigate to Projects > Projects > Project Management and select the project from the left list
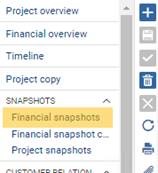
2. Select Financial snapshot from the right list
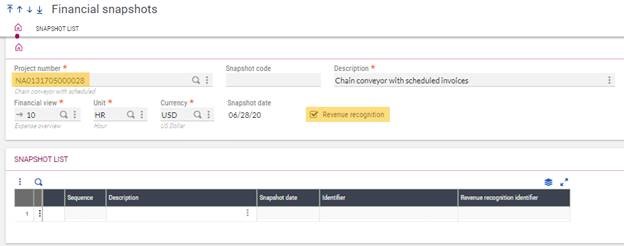
3. Create the financial snapshot if this is the first time it is being generated for this project:
- Select the New button from the right list
- Enter the Project number
- Select the Revenue recognition checkbox
- Select the Create button from the right list
4. Select the Snapshot extraction button in the upper right-hand corner
5. Select OK and view the log reading
Run the Revenue recognition function.
1. Navigate to Financials > Closing processings > Revenue recognition > Revenue recognition
2. Select New and enter the revenue recognition code
3. Select the project code
4. Enter the period and end date
5. Navigate to the Posting section, enter the Entry type and Debit/ Credit accounts to be used during the posting process
- The debit account will be deferred revenue
- The credit account will be the actual revenue account
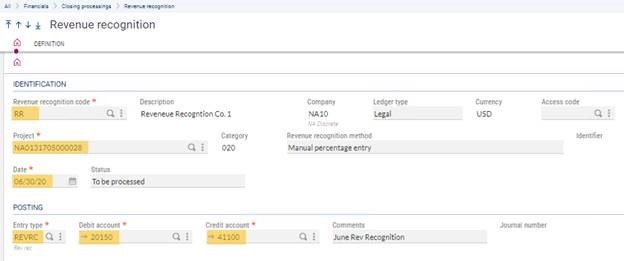
6. Select the Create button to create the record
7. Click Calculation to generate the amounts
- A pop-up message may appear that adjusted percentage has not been entered

- Select Yes to calculate the amounts
- Select No to enter an adjusted percentage before calculating
Verify the amounts and make any adjustments as needed
1. Use the Adjusted amount column to modify amounts for the following:
- Estimated cost at completion
- Adjusted percentage
- Adjusted net recognized revenue
- Adjusted net recognized cost
2. Select Validate in the upper-right hand corner

Note: Once amounts are validated, changes or adjustments can no longer be made. Validation can be canceled before these amounts are posted by selecting Cancel validation. This will reset to Awaiting validation status.
Post the recognized revenue
1. Select the Post button in the upper-right hand corner to post the adjusted net recognized revenue to the selected debit and credit accounts
2. In the right list, select Accounting document to review the generated journal entry

Note: Use Accounting cancellation to delete the journal entry and return to Validated status. This functionality is available depending on the company’s setup.
Optional: If you need to calculate, validate, and post multiple entries, consider using Revenue recognition validation
1. Navigate to Financials > Closing processings > Revenue recognition > Revenue recognition validation
2. Select the Revenue recognition code
3. Select the From and To projects
4. A date will be suggested in the current month, but this can be changed as needed
5. Enter the Entry type and Status
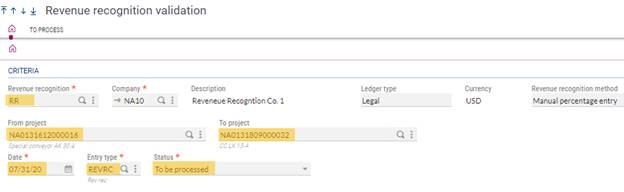
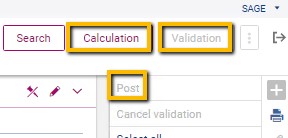
6. Select Search in the upper-right hand corner and see the results populate in the grid
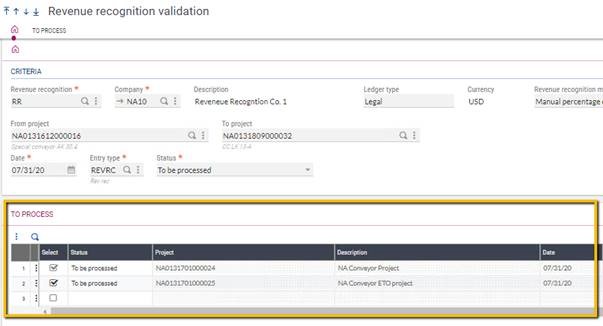
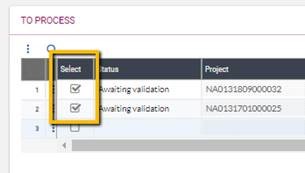
7. Select the entries for which you would like to recognize revenue for
8. Select the Calculate, Validate, and Post buttons in the upper right-hand corner to repeat the revenue recognition process
For more information on revenue recognition in Sage X3, please contact us.